
The Statistics of Autonomy
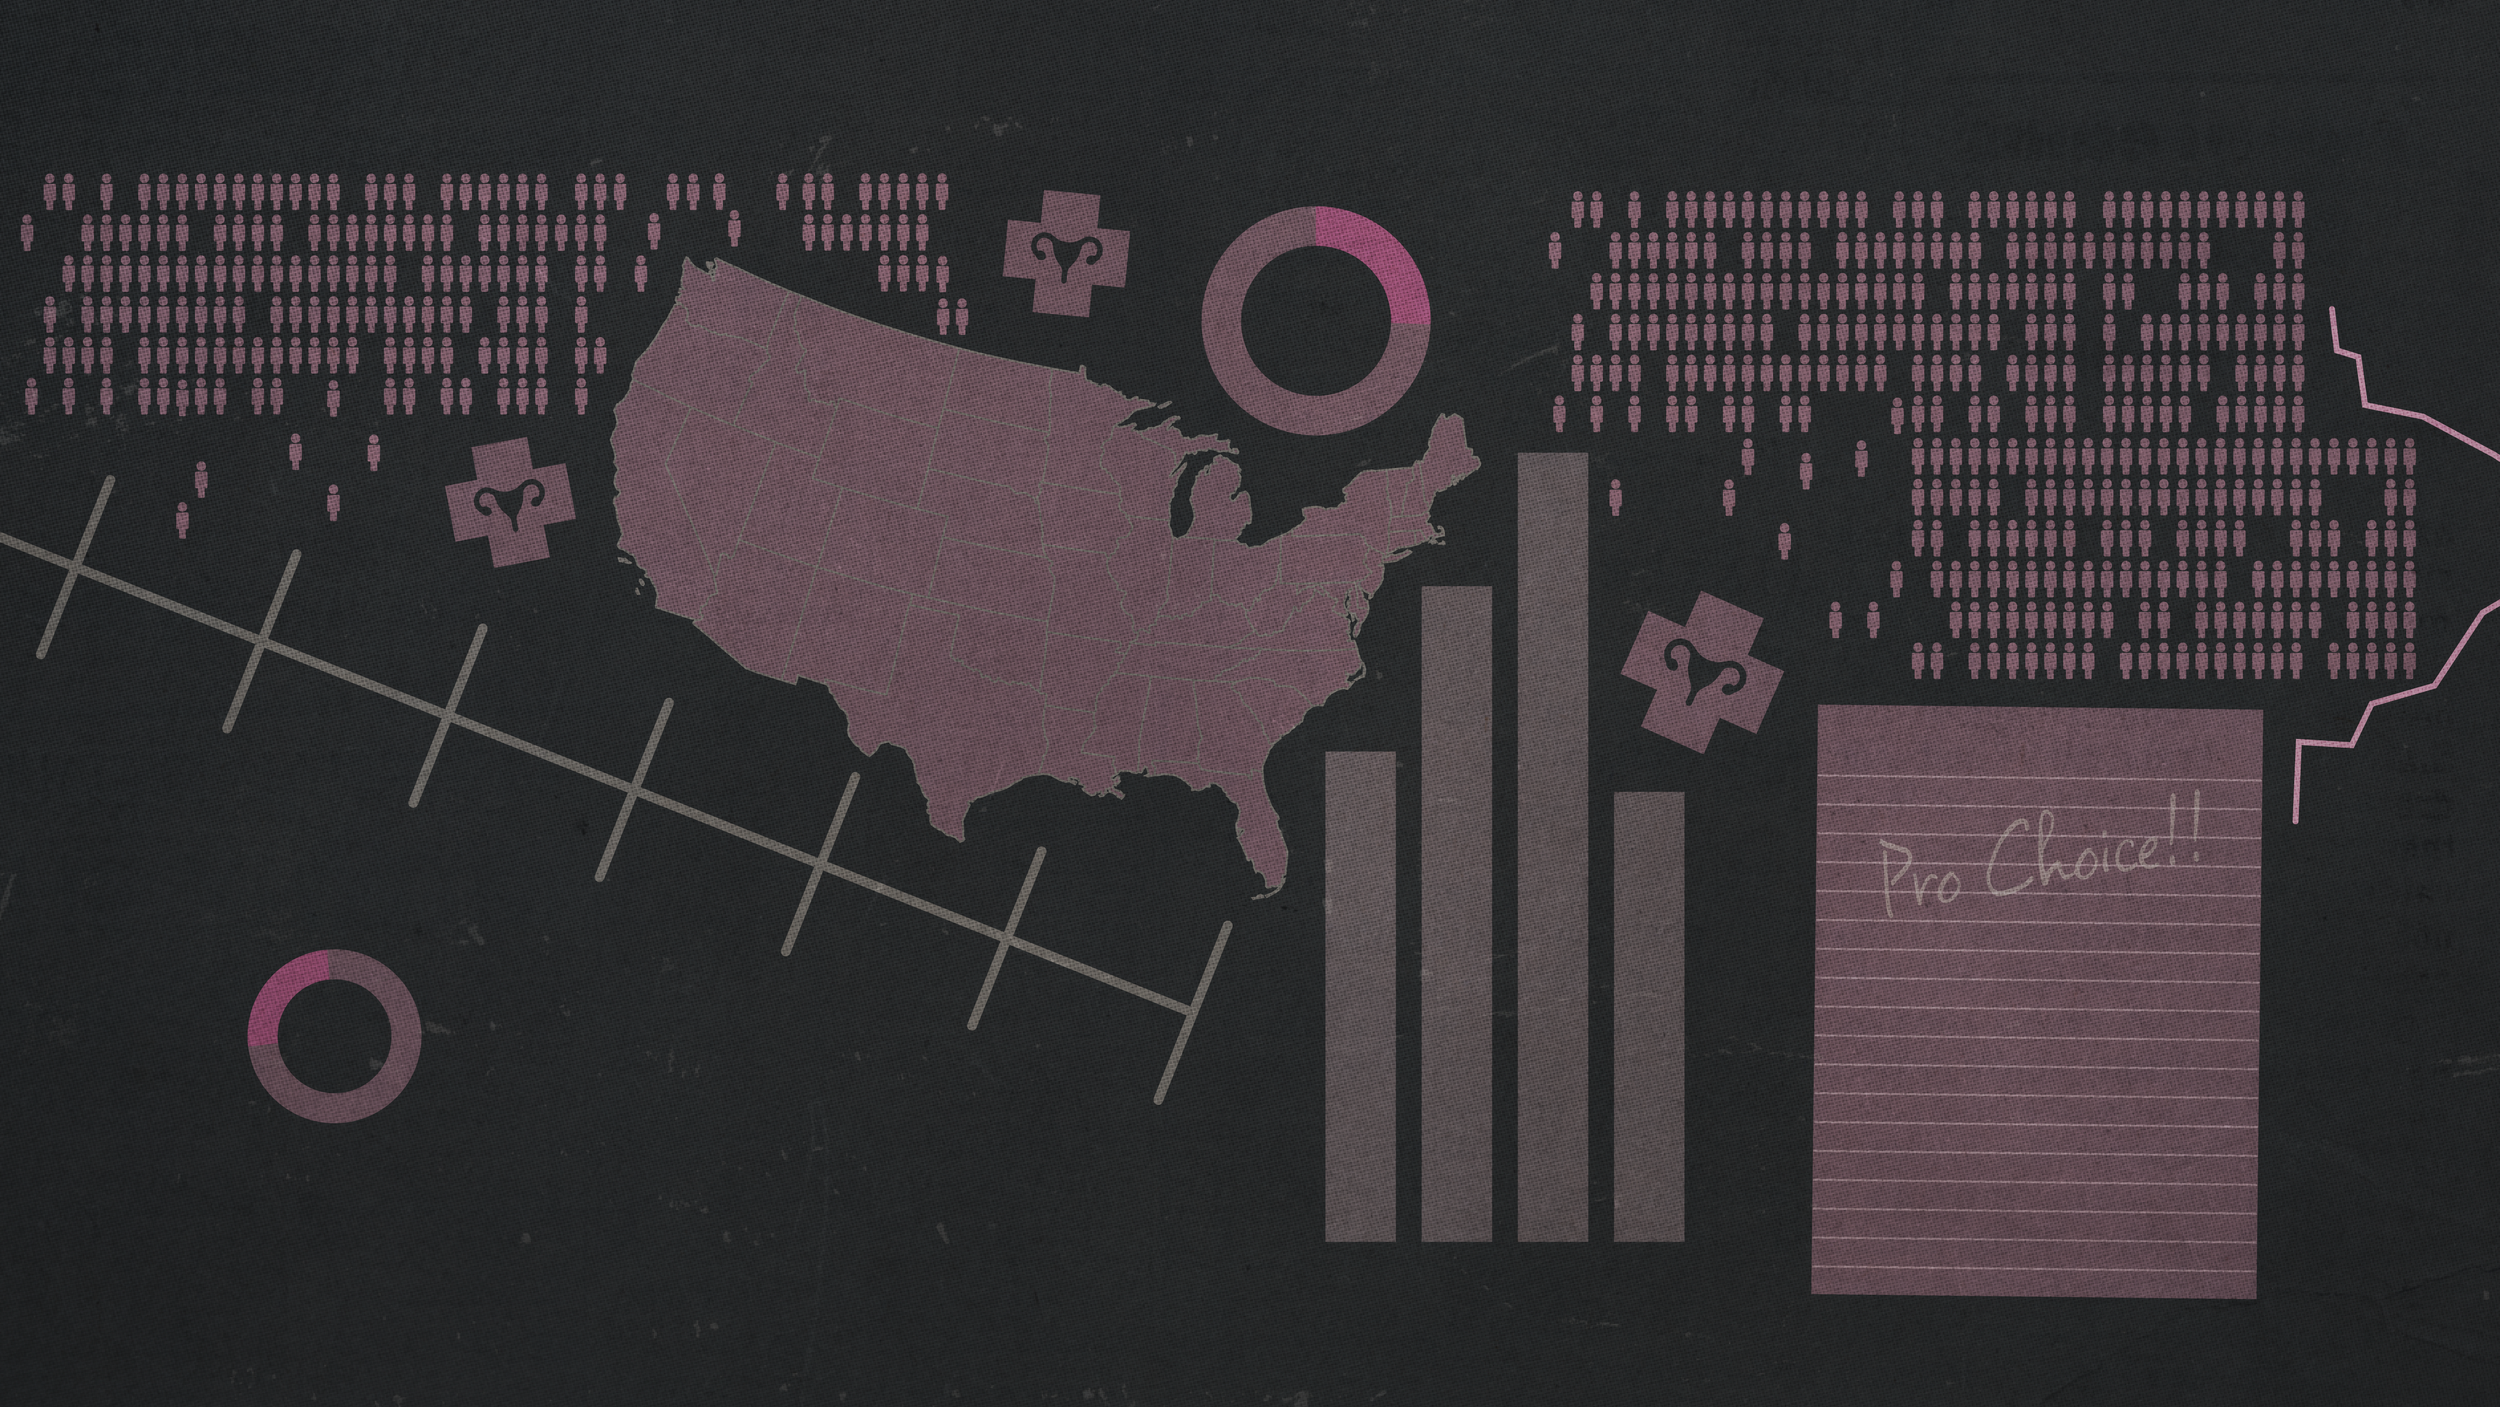
A comprehensive, animated informational motion graphic diving into the facts behind women’s reproductive rights in the United States for YouTube.
Role
Motion Designer, Writer, Researcher
Adobe After Effects, Illustrator, Premiere Pro, Google Docs, Youtube Studio.
Timeline
7 weeks (2026)
Project Type
Animated Infographic, Motion Graphic
Tools
Overview
In the United States, reproductive freedoms are under attack. In a country so divided and a media landscape filled with misleading information, it’s more important than ever to understand the facts behind women’s reproductive rights in America.
That’s why I created this animated information motion graphic highlighting some of the key facts and statistics related to the topic of reproductive rights. I touch on a wide variety of subcategories from Roe v. Wade and Dobbs v. Jackson Women’s Health Organization, Abortion Bans by the State, Patient Demographics, Safety, and much more.

How We Got Here

The Problem
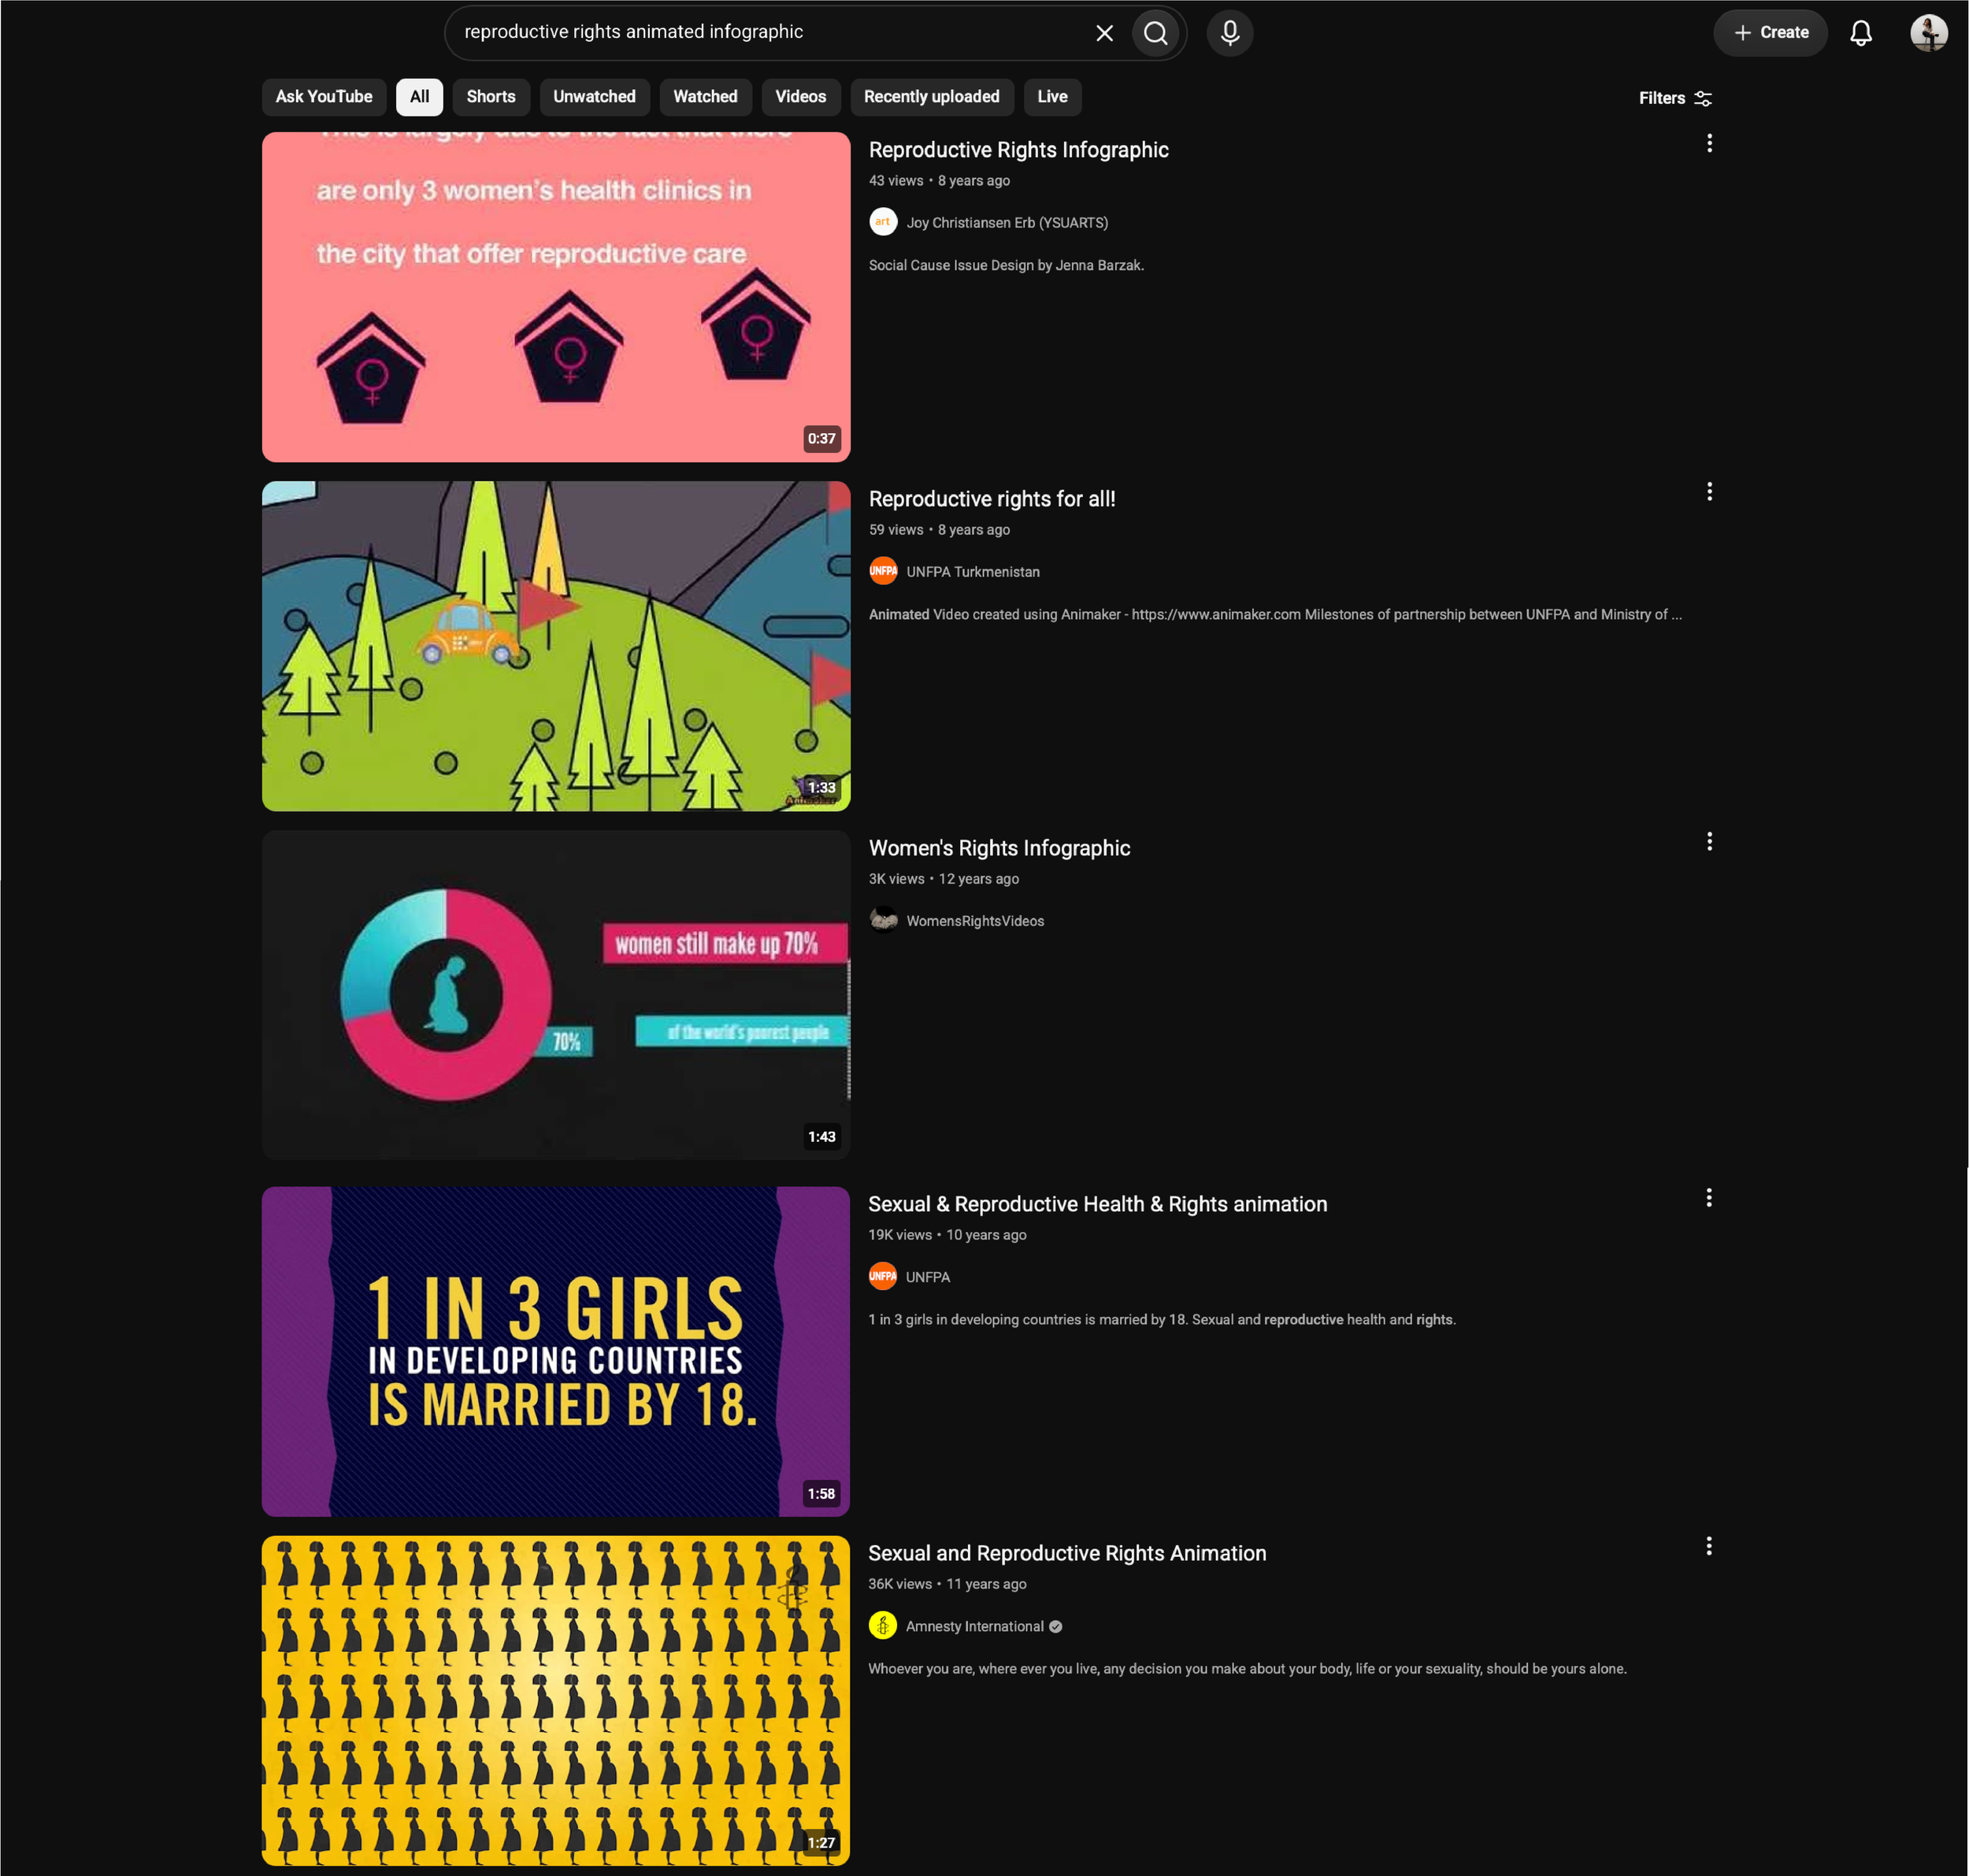
From my preliminary research, I learned that the market is filled more so with explainer style videos than the kind of primarily statistic based content. Most of the videos I saw that matched my vision were inside of larger formats like documentaries (13th’s graphics being one of my main visual inspirations for this format).
Similar videos with a smaller format are usually slower paced and alongside slower music, making them drag. A more fast paced video would make the final product more engaging.
As for the topic, there has been a rise in stigma coinciding with a rolling back of freedoms around the United States since Roe v. Wade was overturned in 2022. This stigma contributes to misinformation and many people only know a highly politicized version of history and events. Information about how people are really affected by reduced bodily autonomy is hard to find.
To solve my problem I can situate my video in a largely untapped niche of fast paced documentary style graphics that focuses on delivering facts about reproductive rights.
The Objective:
To use the animated infographic/data visualization format to engage and educate viewers on the facts behind women’s reproductive rights. Through the medium of animation, the goal is to make this topic more digestible and accessible.
Planning Phase
Proposal
Before I could dive into creating my video I had to stop and really think about what I wanted to create. I had an idea, yes, but nothing was fleshed out and if I were to start now I’d be going in blind. So, I created a project proposal in order to get out my thoughts and ensure my creation process was thought through and intentional. This pushed me to think about my project from the start instead of leaving me to fill in the why later on.
This proposal includes:
The Gap/Problem I’m solving
Why I chose the topic I did
My Goals and Objectives
My Target Audience
A loose research benchmark
A Timeline
Deliverables
Project Plan
To allocate my time appropriately I devised a project plan in Asana, breaking down each of the seven weeks I would spend working on this project. I chose Ansana to plan my project because I prefer its multiple project views and I was interested in getting more familiar with the program.
The week-by-week outline:
Week 1: The Proposal
Week 2: The Project Plan
Week 3: Scripting + Data Collection
Week 4: Storyboarding and Animation Prep
Week 5: Creation
Week 6: Revisions
Week 7: Delivery
Weekly tasks differed depending on the phase of the project I am in. Weeks 3 and 4 were heavier because a lot needed to be accomplished for planning and prep-work purposes. Weeks 5 and 6, though, were lighter in the amount of major tasks since I was focused on animation. What these weeks lacked in amount of tasks, they made up for in time to complete.
The Voice
Data Collection
The most important part of my process was the research. Gathering all the information, combing through, and picking what I wanted to use. I started this process by finding a lot of sources hitting each of the points I knew I wanted to touch on in my final video.
Once I gathered those sources I combed through each of them, pulling out data points that could work in the video. I organized this by category to keep my thoughts organized and to reduce the amount of time I would have to spend searching for a specific statistic later on. From there, I could go through my list and check contradicting information, eliminate duplicates, and highlight points I knew I definitely wanted to use in the final video.
Scripting
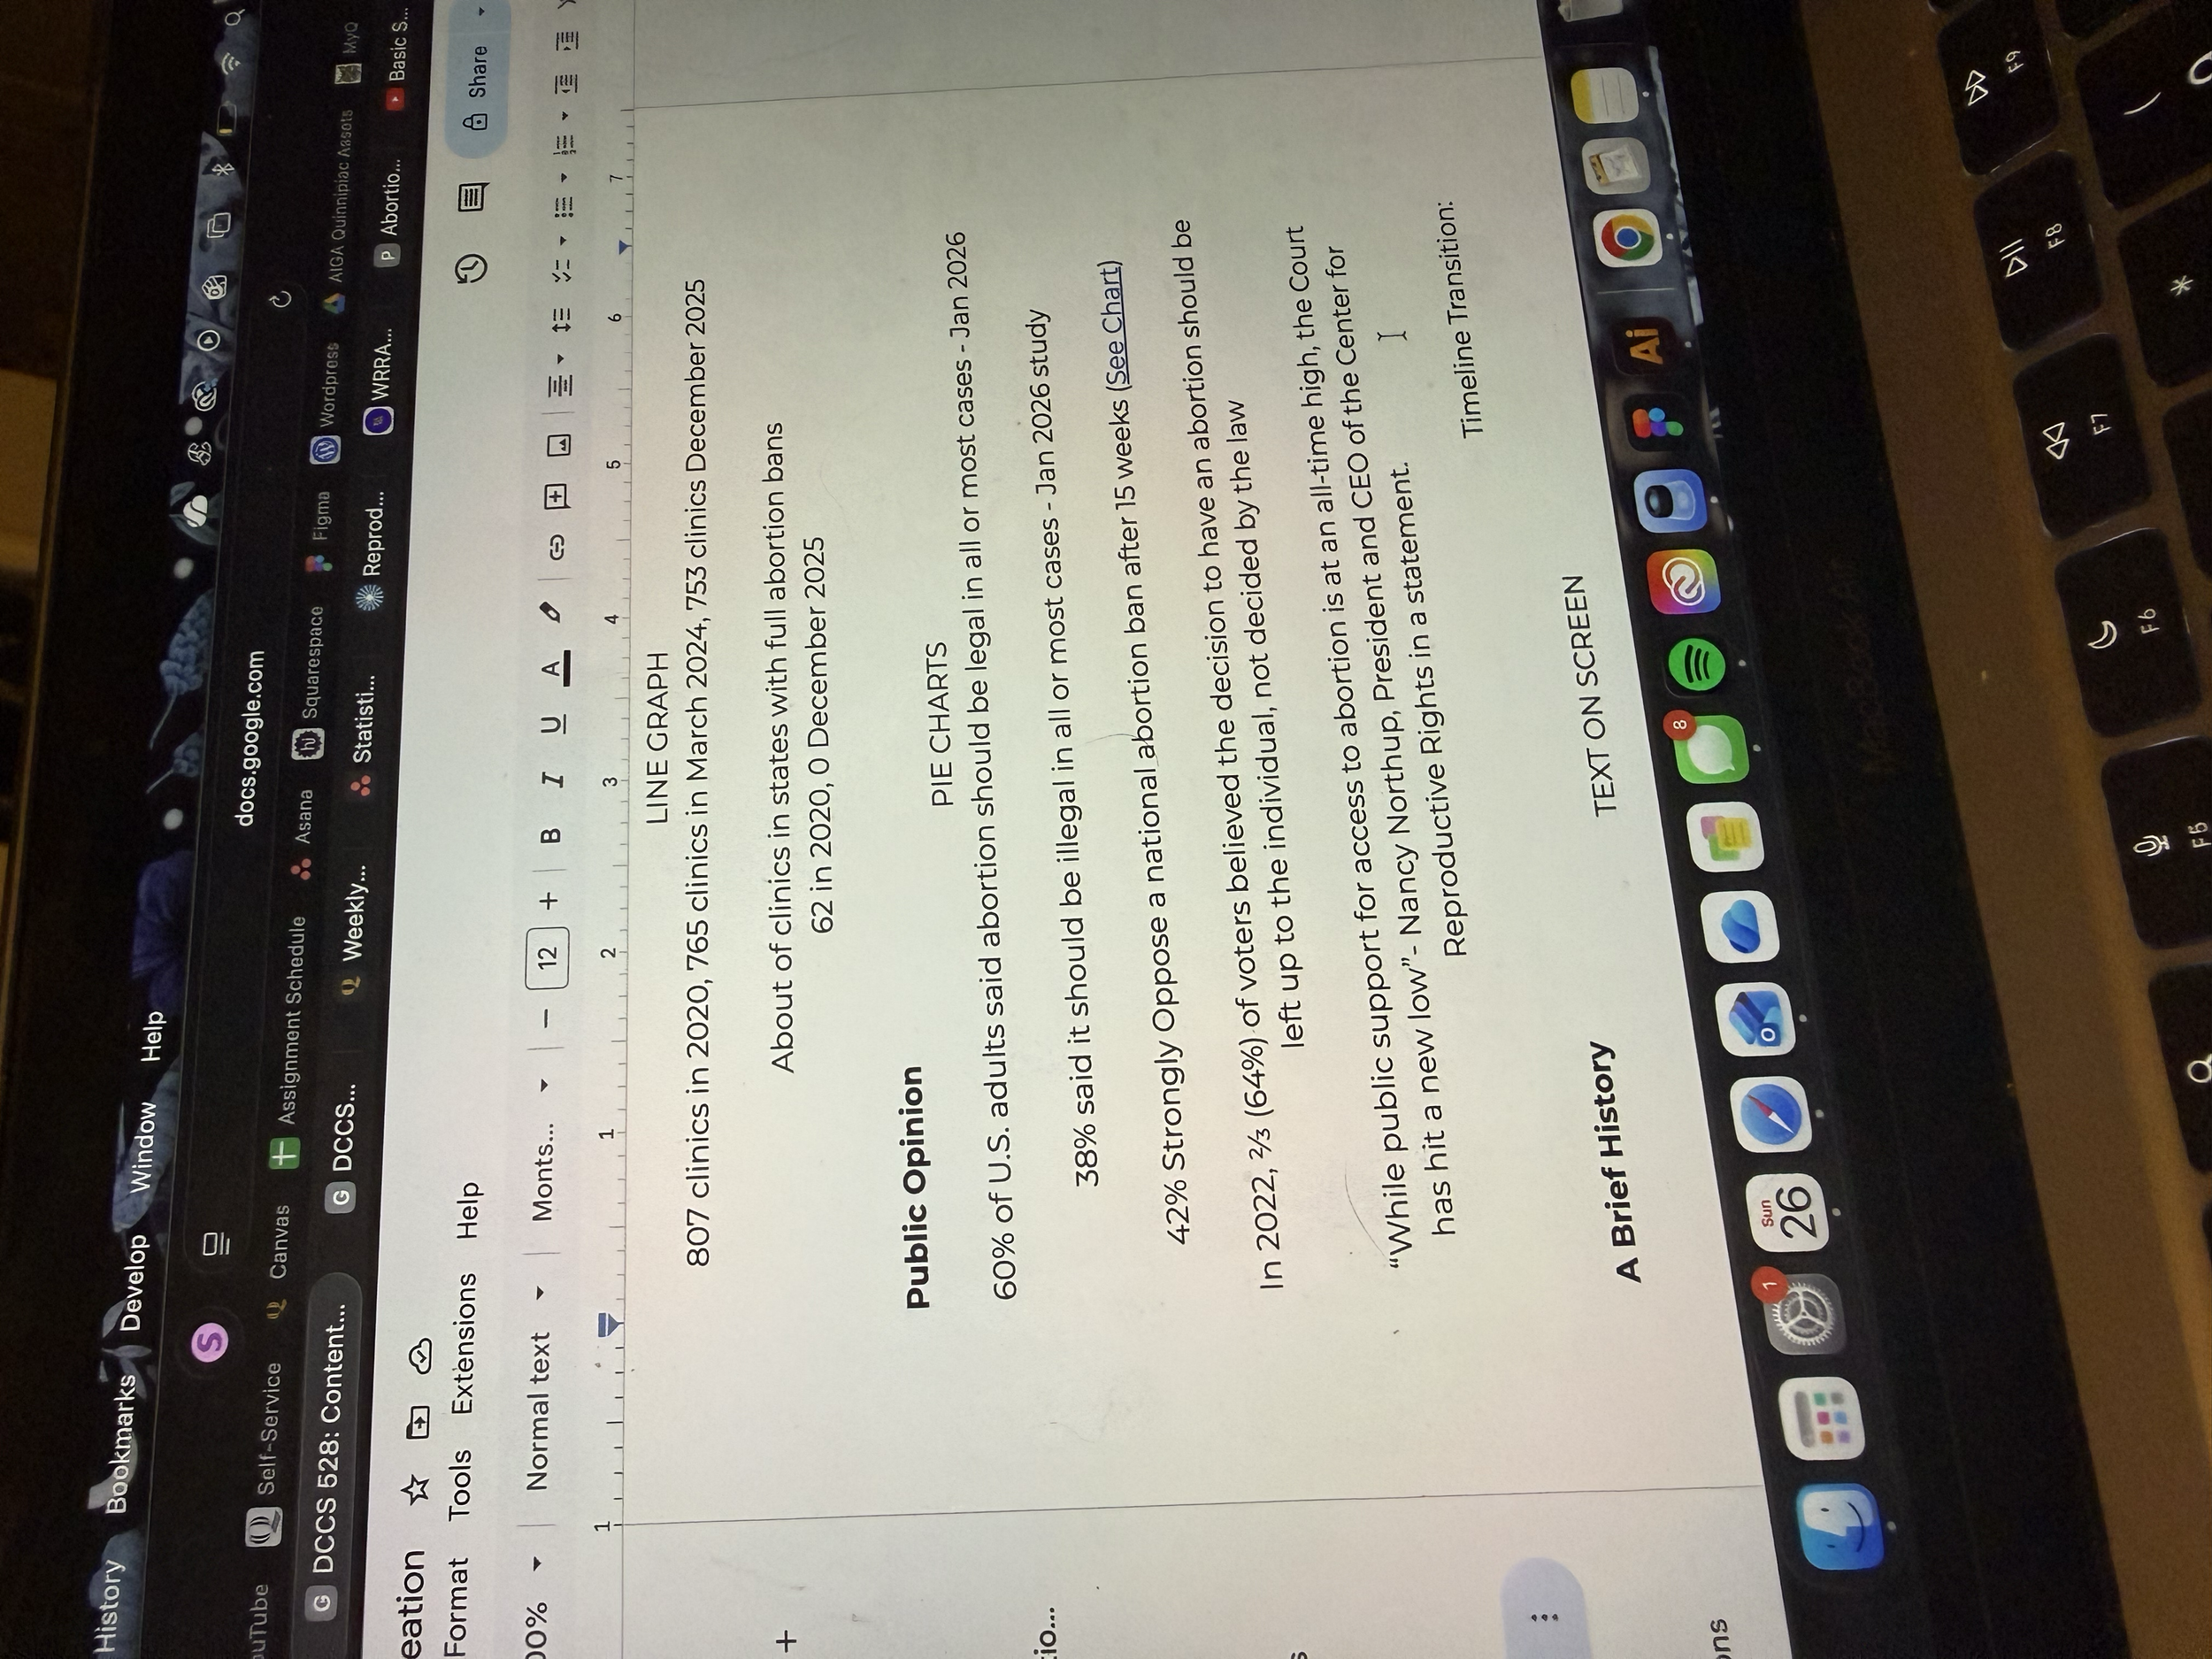
Creating the script is where I synthesized all the data I collected and gave it some direction. Instead of just facts just placed on a screen one after another, here is where I developed the story it would follow. I wrote out what I wanted to say and I outlined when I wanted to say it. I aimed for the information to flow naturally so jumping to a new subcategory didn’t feel jarring. I fiddled with the best way to stack content so I didn’t end off on too sad a note, but not one that was too happy either. I wanted the story I weaved from the data to make viewers feel kind of mad and inspired to take action.
This script, while not formatted like your typical screenplay since a more informal first worked best for this kind of video, is the bones of this video. It’s a collection of all the data I’ve collected, and the structure for what I would later create.
The Look
Visual Identity
Creating a strong visual identity was extremely important. After all, what good is all the research I’ve done if people don’t want to look at what I created, if they don’t feel anything from it. From the start I wanted the video to have a very grunge, rebellious feel. This meant strong typography, bold colors, and lots of texture to avoid it feeling flat.
For my colors, I needed something bold with lots of contrast, but would also need some lighter supporting colors. Strong color contrast was important to have throughout the palette to allow for more dynamic designs. This is how I landed on my three pinks: a bold hot pink, a light baby pink, and a cotton candy midtone. For neutrals, I didn’t want to use pure white and black at risk of it feeling flat and hurting screen readability, so I chose a creamy off-white and a charcoal black.
My primary typeface (Paccadillo MVB) was strong and striking, something that I felt could get that rebellious feel across. My secondary typeface (Avenir Next) needed to be a readable sans serif for smaller, more detailed, text. My final typeface (Square Peg) has a handwritten look to be used in small notes throughout the video emphasizing the handmade, human, feel.
Storyboarding
Creating the storyboard was an important planning step. I went through frame by frame and sketched my vision. By doing this I not only took time to put thought into each frame, but also ensured I wouldn’t forget what I was picturing when it came time to animate. This process helped me work through complicated sequences and lay out my ideas on paper. When I went into After Effects, this storyboard gave me something I could quickly reference instead of using trial and error and coming up with ideas on the fly.
Animation Prep
I made sure to gather as many materials as possible before the beginning to animate. Having everything beforehand allowed me to be thoughtful about each element that would make the final cut. It also freed up time I would need for the lengthy animation process as I wouldn’t have to stop what I was doing to go make or search something.
I gathered:
Background music
Audio of people saying quotes I’ve included
Sound Effects
Textures (paper, grains, scratches)
Photos relating to the topics mentioned in my script
Protest videos
I made:
Audio clips for the quotes I could not find
Icons
Graphics to use throughout my video
Graphs I will not be able to make directly in After Effects
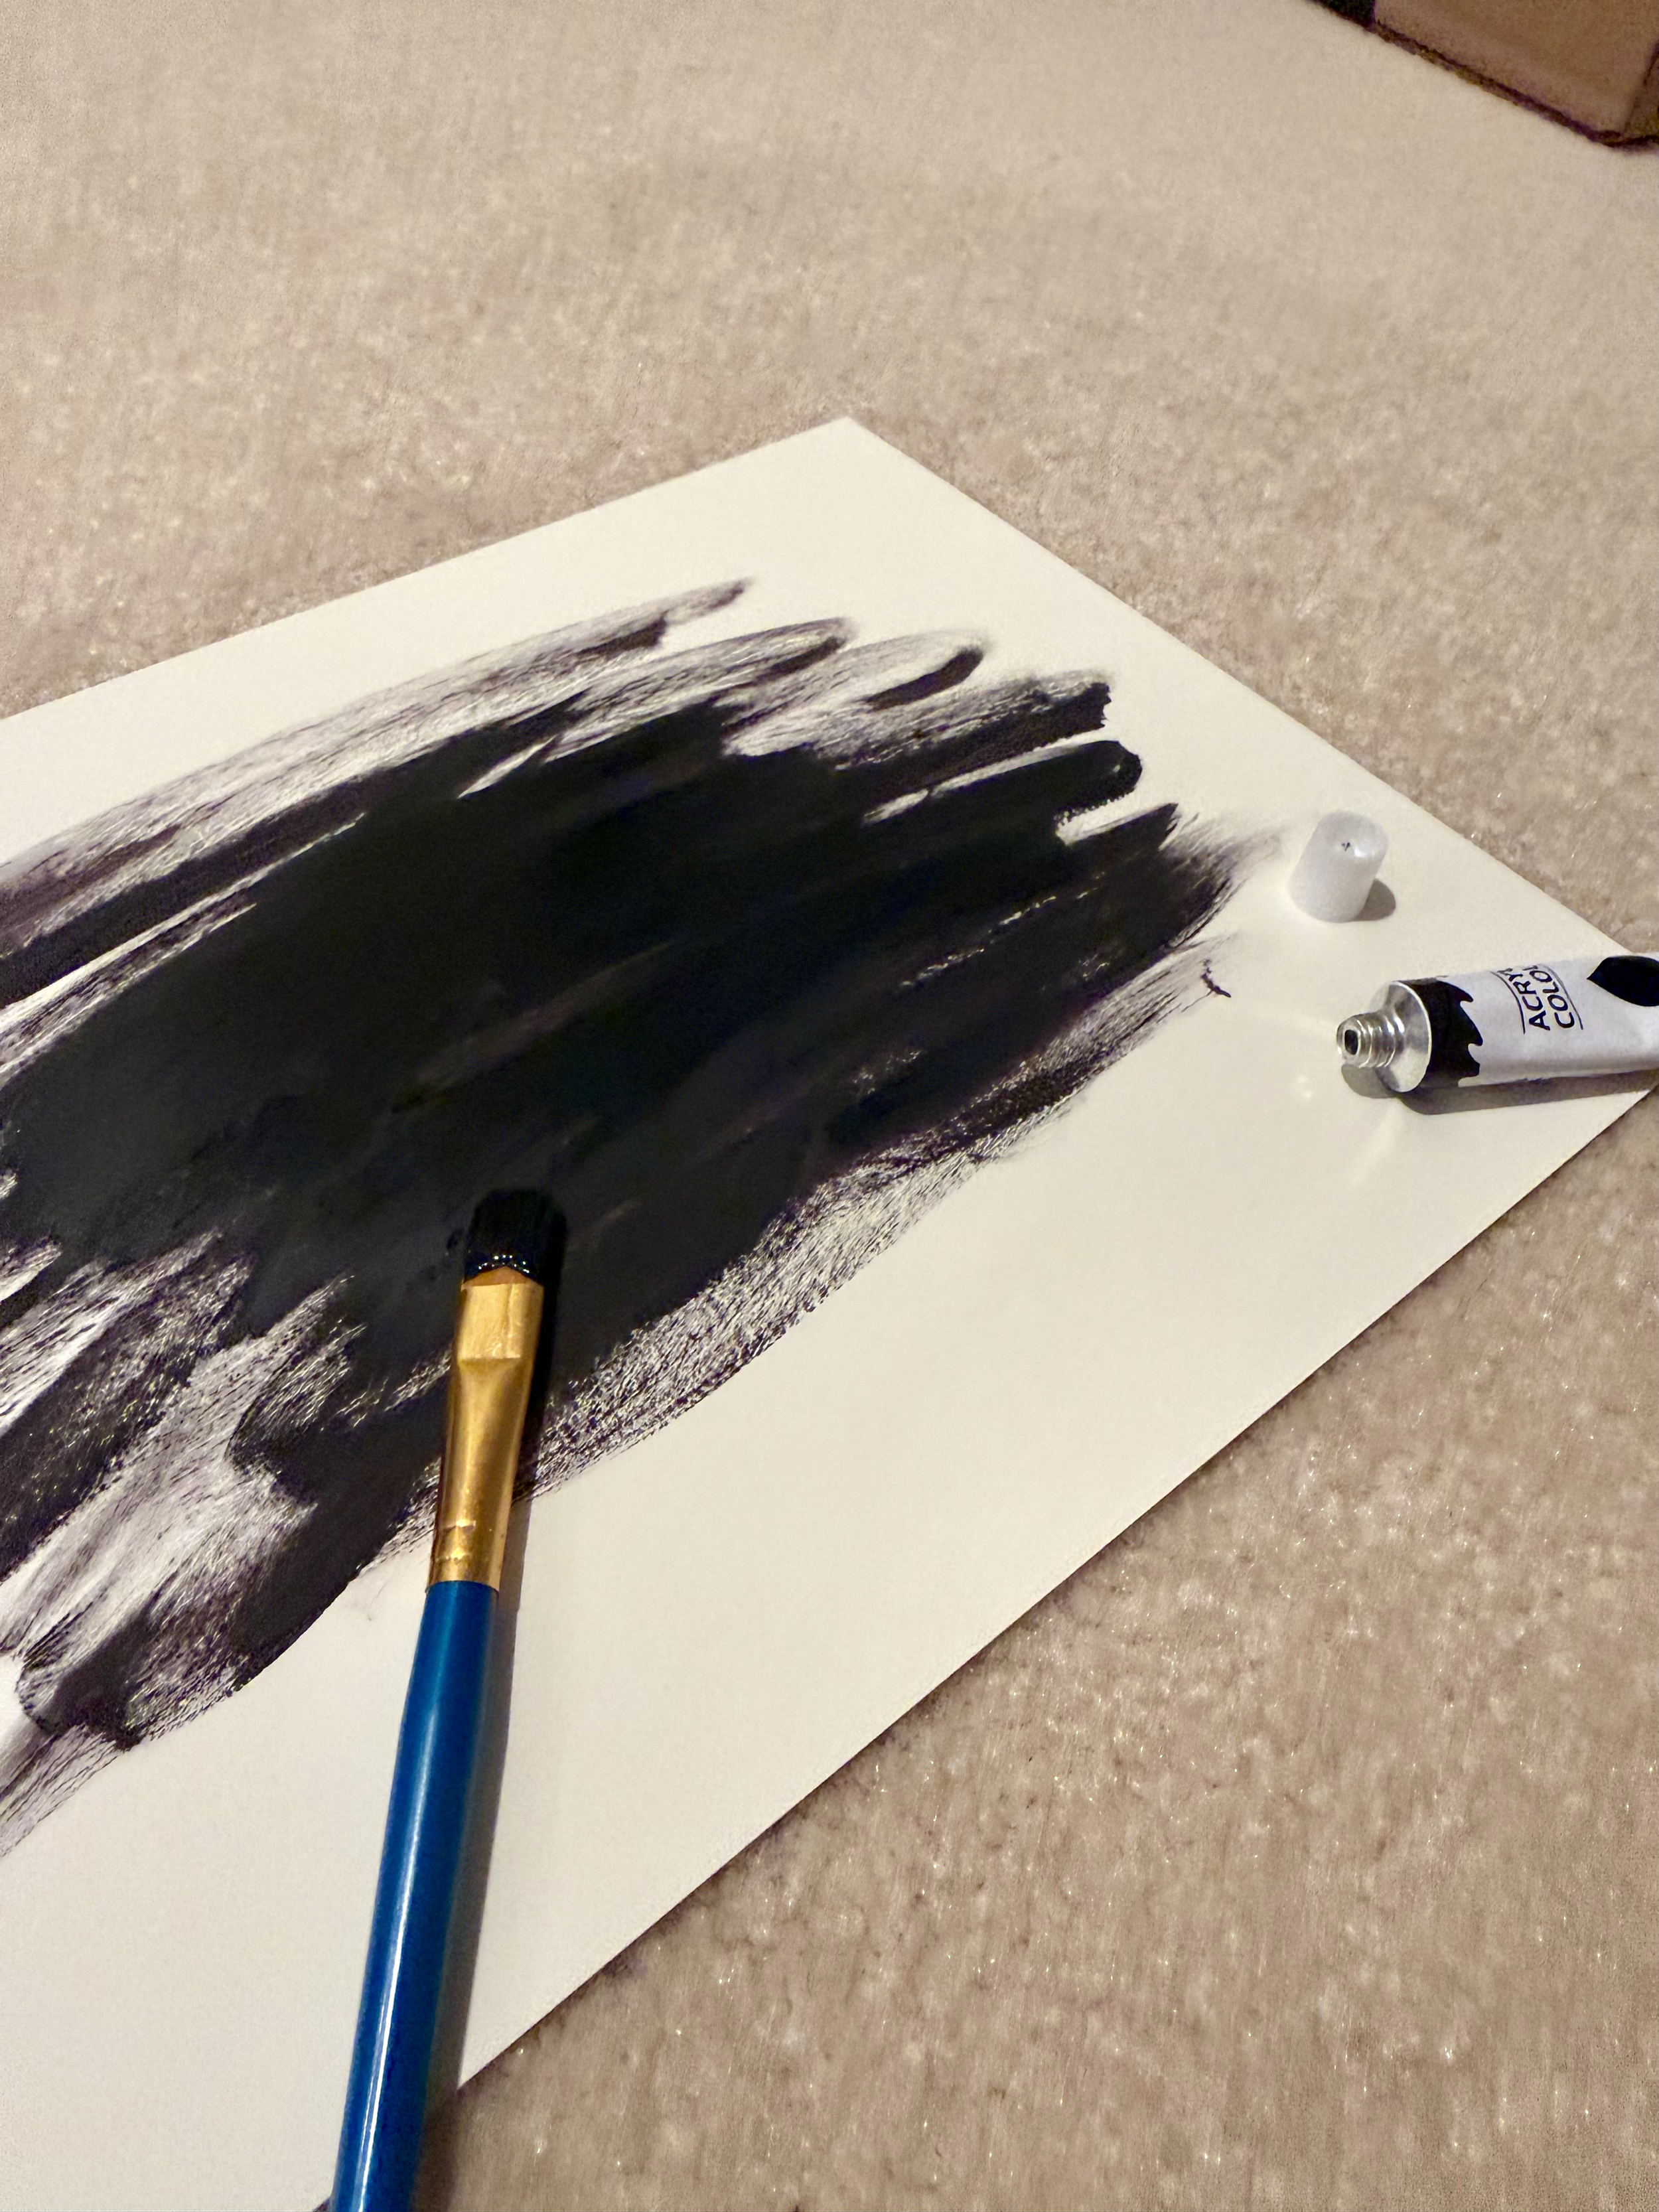
A paint stroke texture to be used as a transition or background element
I refined:
A map of the united states by separating each layer so it’s ready to be put into After Effects
Production Phase
Initial Animation
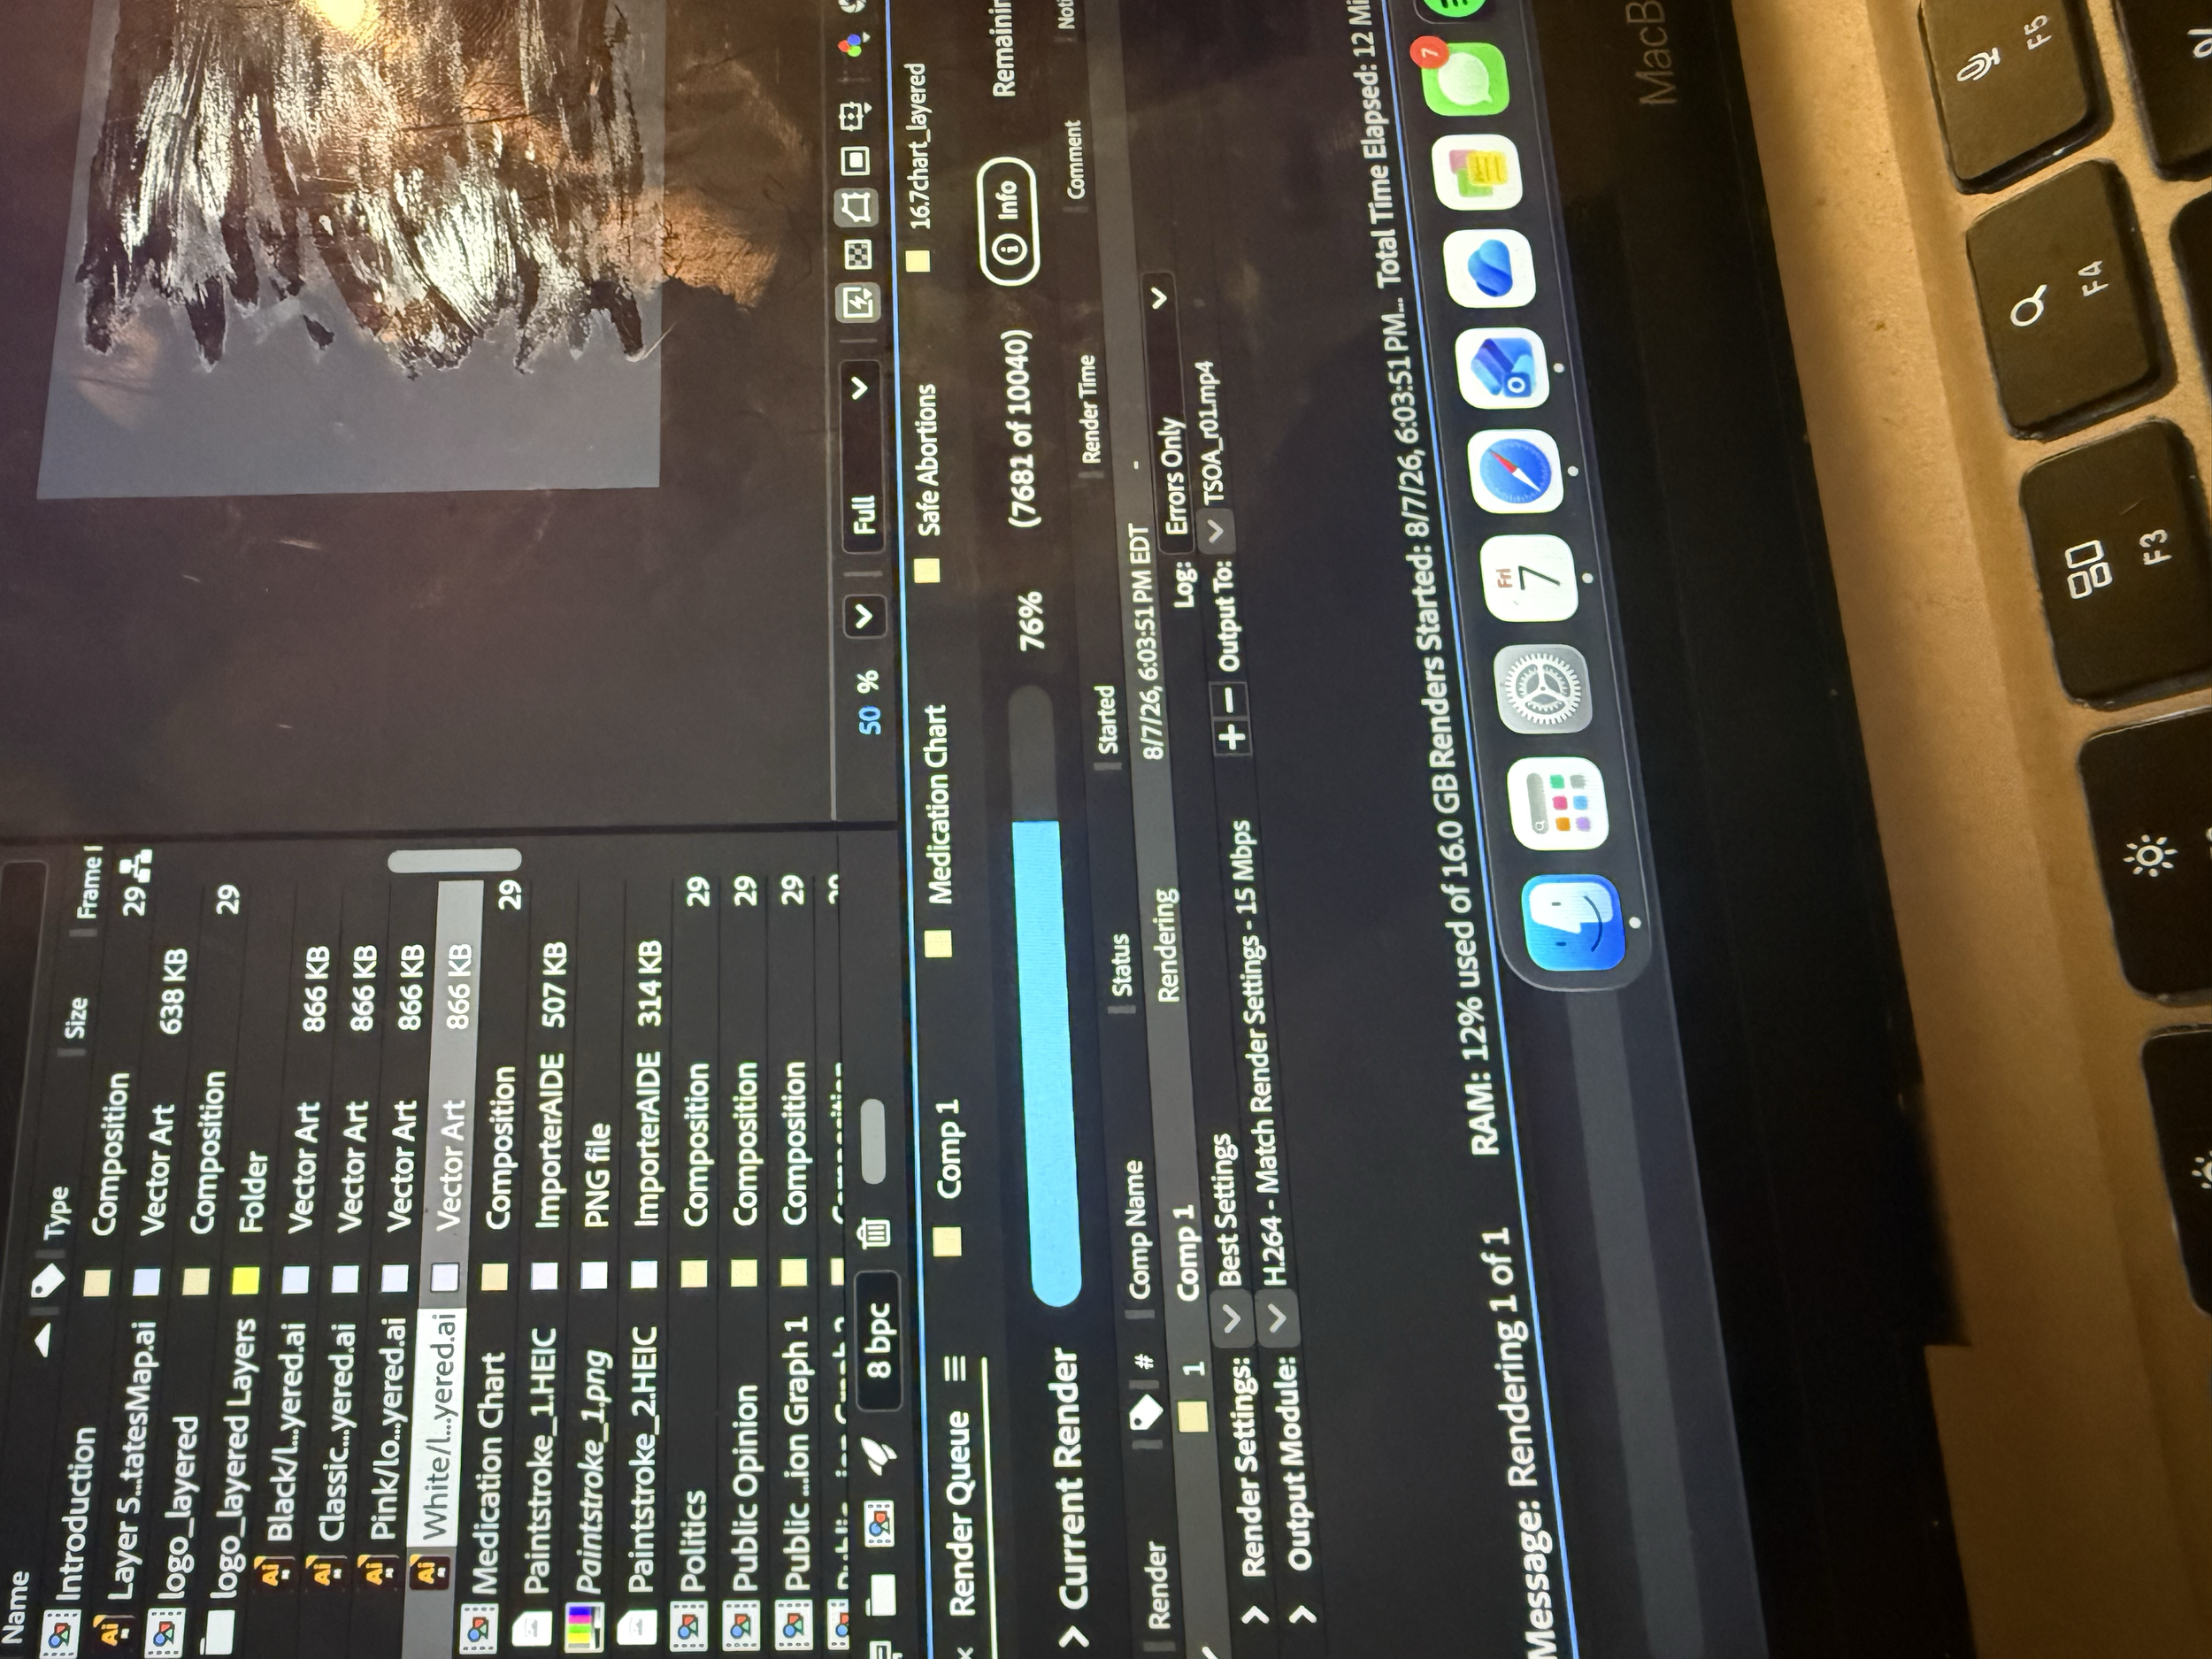
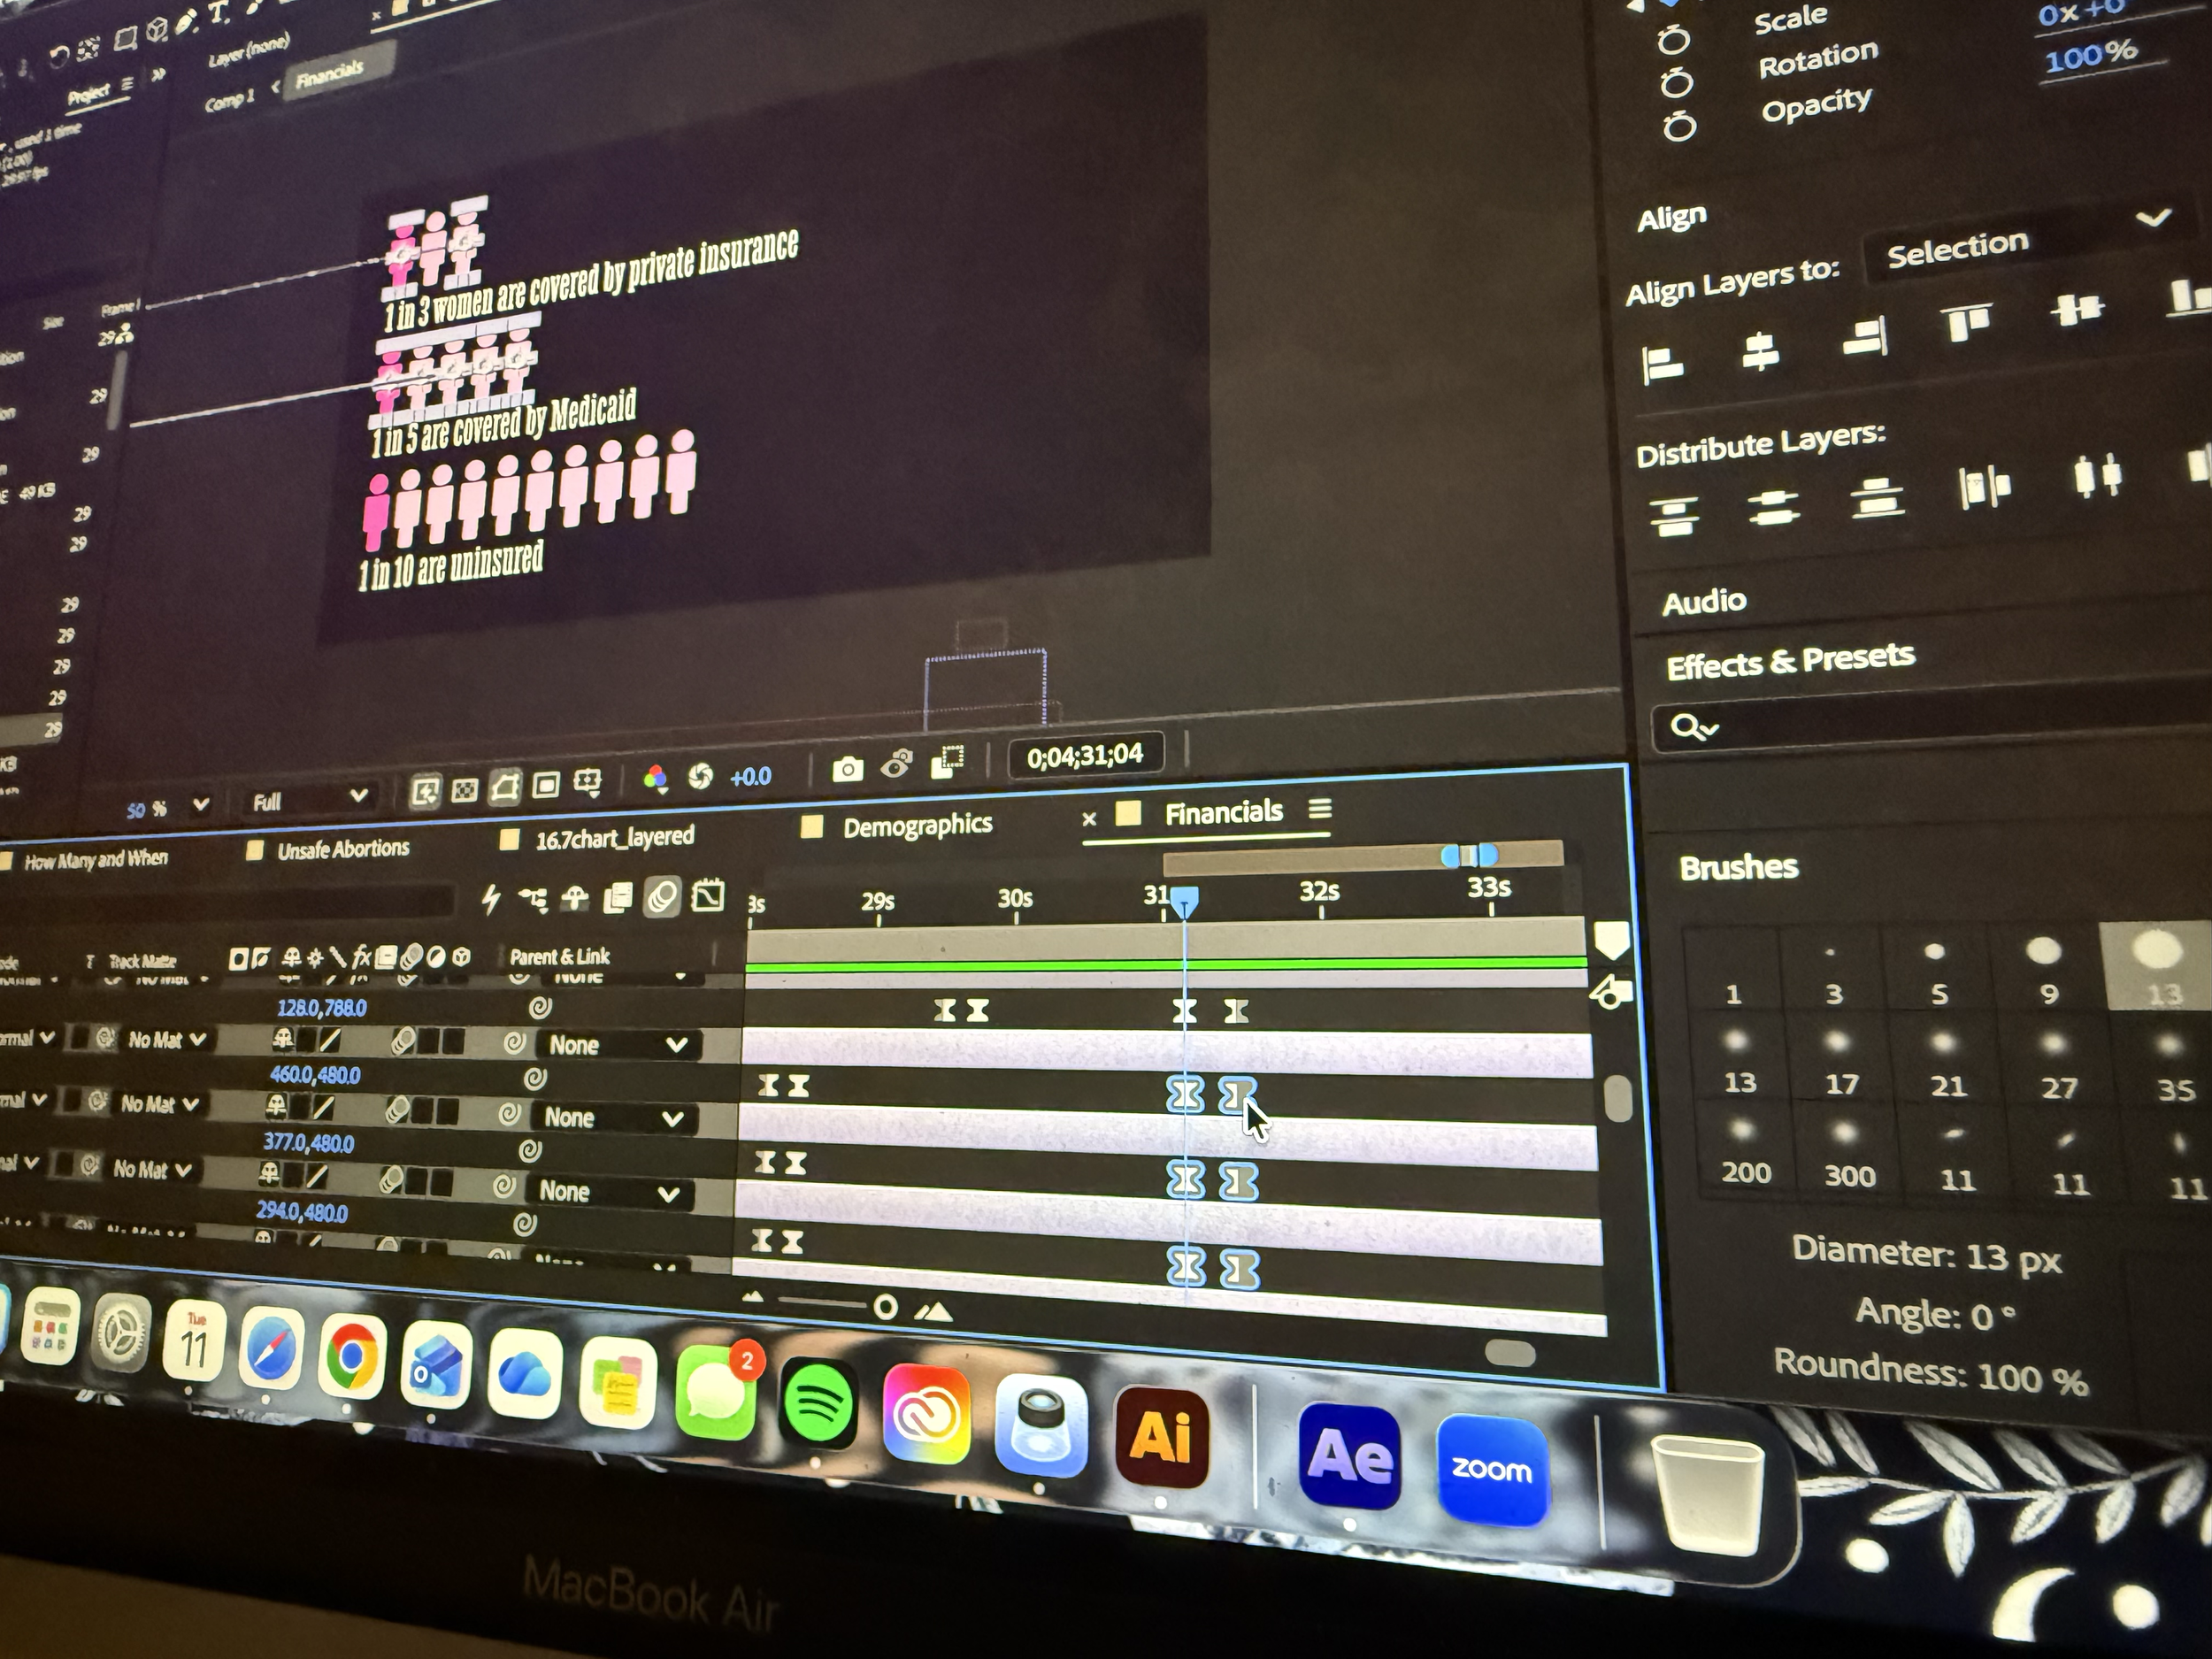
My goal with the initial animation was to get as much animating as possible done Week 5 of my project in order to stay on track with my plan. I aimed to create a solid base with all the major animating completed so the following week I could focus on cleaning up that initial animation and adding in final touches. After about 28 hours I was able to achieve my goal, creating a base animation of about 5 minutes and 35 seconds. I tried some new and complex effects, used pre-composed layers for the first time, and learned how to move After Effects’ cache to my external hard drive so my laptop didn’t quit on me.
I had to be flexible throughout this process. I had to cut parts of my information for time and pivot, making adjustments to planned animations that were no longer working. This taught me to be adaptable and how to adjust my work without compromising quality.
Revisions
I made my revisions by first rewatching my initial animation with fresh eyes and noting down anything that I felt could be changed or improved. With a roadmap I was able to dive into After Effects, adjusting small errors and timing issues. Since my project is very content heavy I focused primarily on adding more time to certain parts of the project so there’s more time to read the information.
Textures
Adding textures, while a small part was instrumental in giving my video that gritty look I was aiming for from the beginning. Layering textures allowed the video to feel less flat and more human giving the video more authenticity.
For the background, I layered two distressed grunge textures with lots of wear and scratches as well as a newspaper texture. Together, these created a strong foundation for the animation to sit on. On top of all the layers, I added a crumpled paper texture and a grain texture. These really brought the animation to life, making it feel less crisp and perfect, embracing the imperfect look I had been going for.
Audio Design
The cherry on top was adding the audio to my video in Premiere Pro. Here I added the music, a rock song to evoke a rebellious feeling in the viewer which I had to loop due to the song’s length.
Then I added sound effects like pencil/highlighter drawing, counter ticks, and wooshes so you could hear the motion, not just see it. I put in audio clips from protests and interviews, and some of myself saying quotes I really wanted to highlight. Adding in the audio took my video to the next level. It added another, deeper layer to the final video.

Reflecting
This project was by far my longest and most ambitious motion graphic to date. It pushed me to learn more about After Effects, and the animation process as a whole. Since I’m used to shorter animations, this pushed me to think about animation time, pacing, and audio more critically.
I learned why information heavy motion graphics like this are typically slow: so you have time to read the actual content. I tried to toe the line of fast engaging content and text heavy content and I know my final product would benefit from some more timing slow downs. Due to time constraints I was unable to make the necessary adjustments to make reading most optimal but hope to make these tweaks in the future.
I learned about what it takes to post a video on YouTube, from the behind the scenes planning parts to creating a thumbnail and writing the description. I was largely unfamiliar with this backend process and am looking forward to using my new skills in the future.
I loved blending deep research and thoughtful animation together to create a comprehensive motion graphic that I can truly say I’m proud of.